
You’ve heard of this thing called a bullet journal and you’ve seen the images of them. Gorgeous right? Are you guilty of spending a ton of your time looking through bullet journal spreads and inspiration but when it comes to doing it yourself, you don’t know where to start?
If you want to know how to start a bullet journal in 2025 then you’ve come to the right place. I’ve broken down to the best of my ability (without overcomplicating things) all you need to know about starting a bullet journal successfully in 2025.
What is a bullet journal?
To put it simply, a bullet journal is a way to organize your life and everything in it in one visual place. With a bullet journal you can combine everything in one place so there is no need for individual journals and the great thing is, that you customize it to suit you.
The idea of a bullet journal is to stop and think about what you are journaling and to note what is important to you. If you can’t take the time to write it down, then it’s not important enough. Doing this helps to separate the treasure from the junk.
How to start a bullet journal in the middle of the year
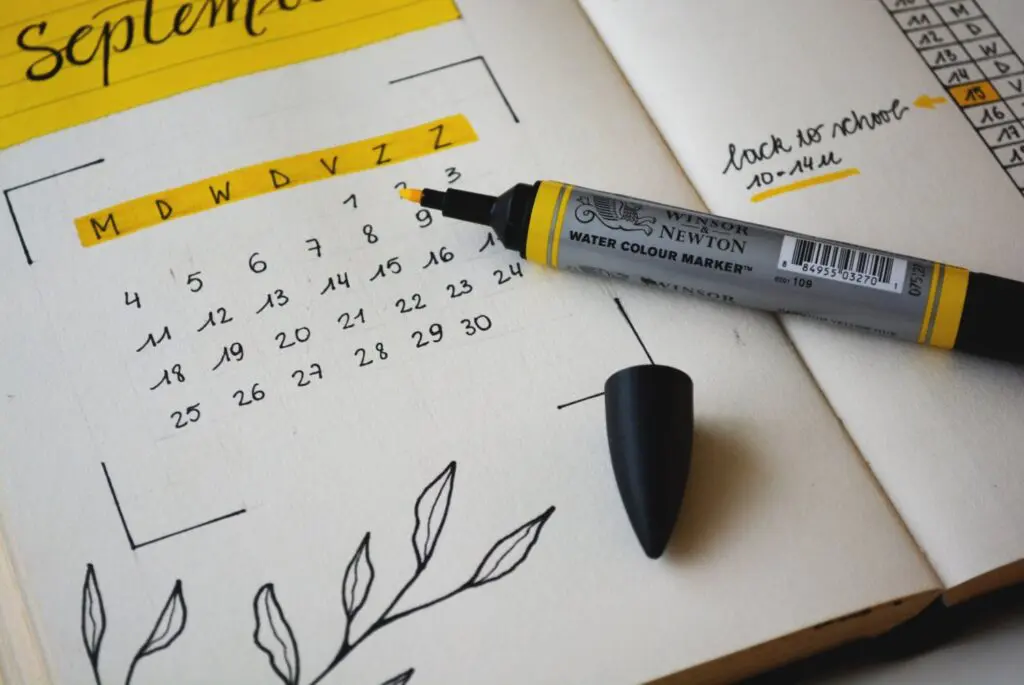
Many people plan to start their bullet journals at the start of a new year in January so they can start fresh. But what happens if you only discover the beauty of bullet journaling after the year has begun? How do you start your bullet journal then?
If you find you want to start a bullet journal after January, don’t fret! It’s not the law that you have to start journaling in January and being honest, starting in any other month is just the same as starting at the beginning of the year.
Let me tell you what I would do in this situation. Let’s say you discover bullet journaling in mid-March. I would take the rest of March to plan my bullet journal process for beginning at the start of April.
I would buy the tools that I would need to get started (read more below) and I would start by figuring out what I wanted to include in my bullet journal. I would then look at inspiration and do some practice layouts before creating the bullet journal ready for April. Your bullet journal needs to be ready in advance so you can start it on the first day of the month.
You would then create the bullet journal the same way you would if you were creating it for the start of January. Read on and we will show you exactly how to do that.
What do I need to start a bullet journal?
Want to know what you need to start your bullet journal journey?
- A notebook/journal
- A pencil
- A pen
- A ruler
That’s it. These are the basic things to get started.
You will need a pencil if you like to sketch your layouts or designs first. A pencil is a pencil so I won’t go into that much. Just make sure you don’t pencil too hard or too dark.
You will also definitely need a ruler. You will use a ruler to make sure all of your lines are straight whether this is for your bullet journal layouts, charts, trackers or simply to guide your lettering.
Now, let’s talk about the most important things you need to start a bullet journal and some of the more fun things for your journal.
Notebooks or journals for bullet journaling
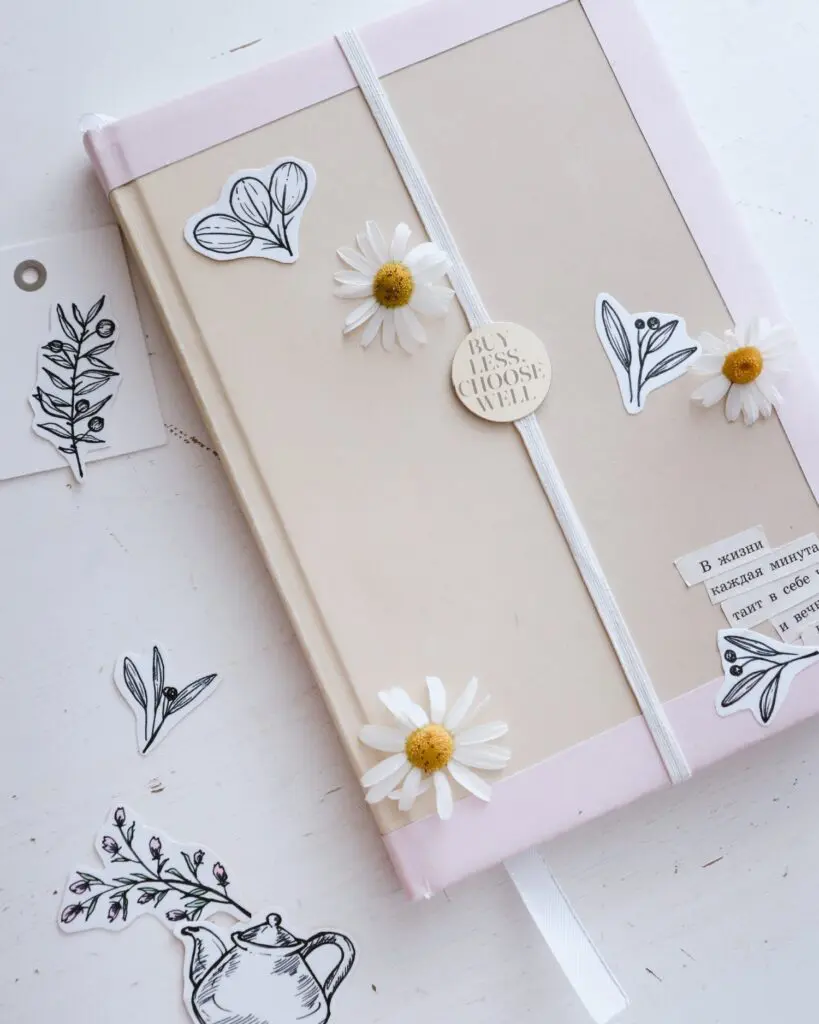
You need a notebook or journal to use as your bullet journal. You don’t need to start off fancy, you can simply find any notebook you like if you want to just start and keep things basic. If you want to start like the rest of the bujo gang out there then opt for a dotted notebook with a good paper gsm (paper thickness).
A dotted notebook uses subtle dots on the page rather than lines so it is more aesthetically pleasing but you can also use the dots as a guide for writing, drawing layouts, and plenty of other things.
Let’s take a look at some dotted notebook options:
- Firstly, this journal is cute! It has a beautiful cover with an inspirational motto and there are so many options to choose from.
- It is cheap. At just $5.50, this journal is so affordable and great if you want to try bullet journaling without going for an expensive journal.
- It’s small. Some people prefer a journal that is larger (letter size) whilst others prefer a journal they can fit in their pocket. The benefit of this? They can carry it around and use it when they need it, wherever they are.
- This is a good journal to start with. It’s dotted and spacious and the paper is also thick enough to hold ink at 100gsm.
Minimalist Art Hard Cover Dotted Journal
- It’s a nice size (5″ x 8.3″), slightly smaller than a typical A5 and has thick paper at 120gsm.
- It’s totally affordable – $7.95, perfect for a beginner or if you’re on a budget.
- It is available in different colors, lays flat, and looks lovely.
- It has over 7,400 reviews, so read through them and make your own decision, for you.
- This notebook has been compared to the Leuchtturm1917.
- This journal is Amazon’s choice but I know a lot of people who bullet journal and enjoy using this brand of notebook.
- Good paper 80gsm with 121 numbered pages.
- A bit pricier at $24.50.
- Designed at 7 x 10 inches and opens flat for easy writing, doodling, etc.
- Includes a blank content page and perforated sheets.
These three notebooks are all good options and there are plenty of notebooks out there for you to choose from but these are the three I am putting to you. In my personal opinion, I think the Minimalist Art Hard Cover Dotted Journal is the best option out of these choices. It is affordable, has good paper quality, and lays flat for easy journaling.
Pens for bullet journaling
Depending on what you want to do, pens are important for bullet journaling. You can use any basic pen to jot your notes down but if you want to create something special, or use fancy lettering then good pens are going to help you out a lot.
We will cover mixed-weight pens in black, colorful fine liner pens, and brush pens to give you an idea of what kind of pens are available for bullet journaling.
- 6 pen weights from 0.05mm to 0.8mm.
- Can be purchased in other ink colors other than black.
- These have been compared to Copic pens (I mean helloooooo)
- So affordable – $10.49 for 6 pens
- Amazon’s choice plus over 800 reviews to read through.
Tebik 45 Pack Journal Planner Pens
- Great price at $14.99 for 40 different colored fine liner pens and 5 stencils!
- Over 1,500 reviews with loads about using with a bullet journal
- Don’t bleed and don’t smear
- Perfect for intricate drawing and coloring
Tombow 56149 Dual Brush Pen Art Markers
- These pens come in so many different color packs to suit your needs.
- A little bit pricier at $16.20 for 10 pens
- The pens are dual with a brush tip and fine tip
- Ink is water-based so you can blend them with different colors
- In the bright pack, there is no black pen unfortunately so keep that in mind.
Free Bullet Journal Stickers
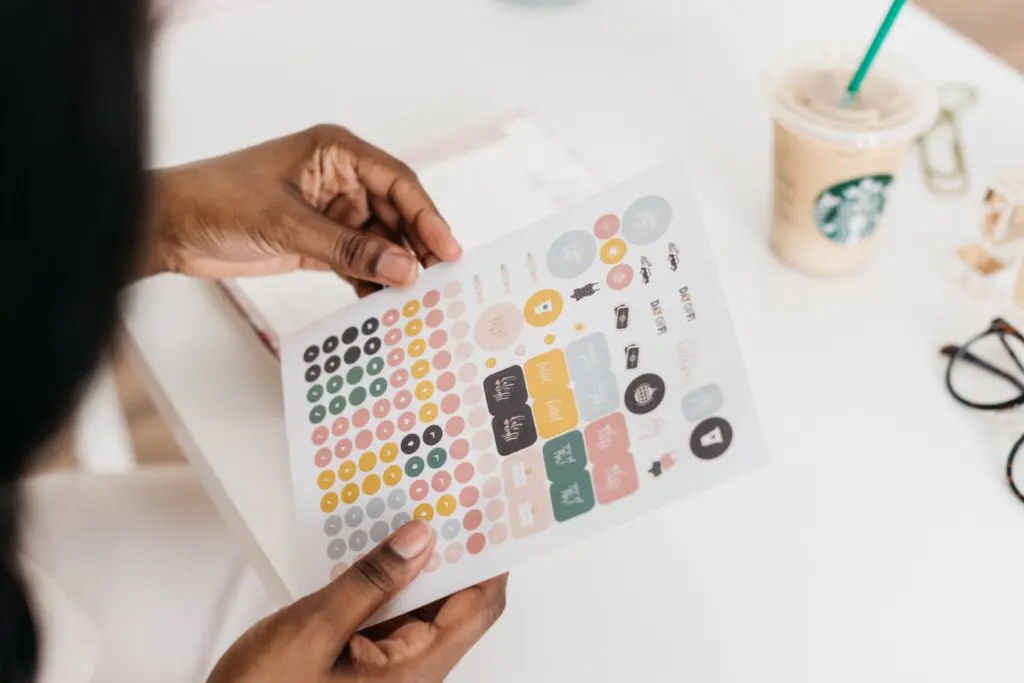
Bullet journal stickers aren’t a necessity when starting a bullet journal but they can sure help with your bullet journal organizing and aesthetic. Besides, who doesn’t want free stickers for their bullet journal?!
Because I love you all so much for being part of the World of Printables community, you get free access to these stunning bullet journal planner stickers.
Free Printable Planner and Bullet Journal Inserts
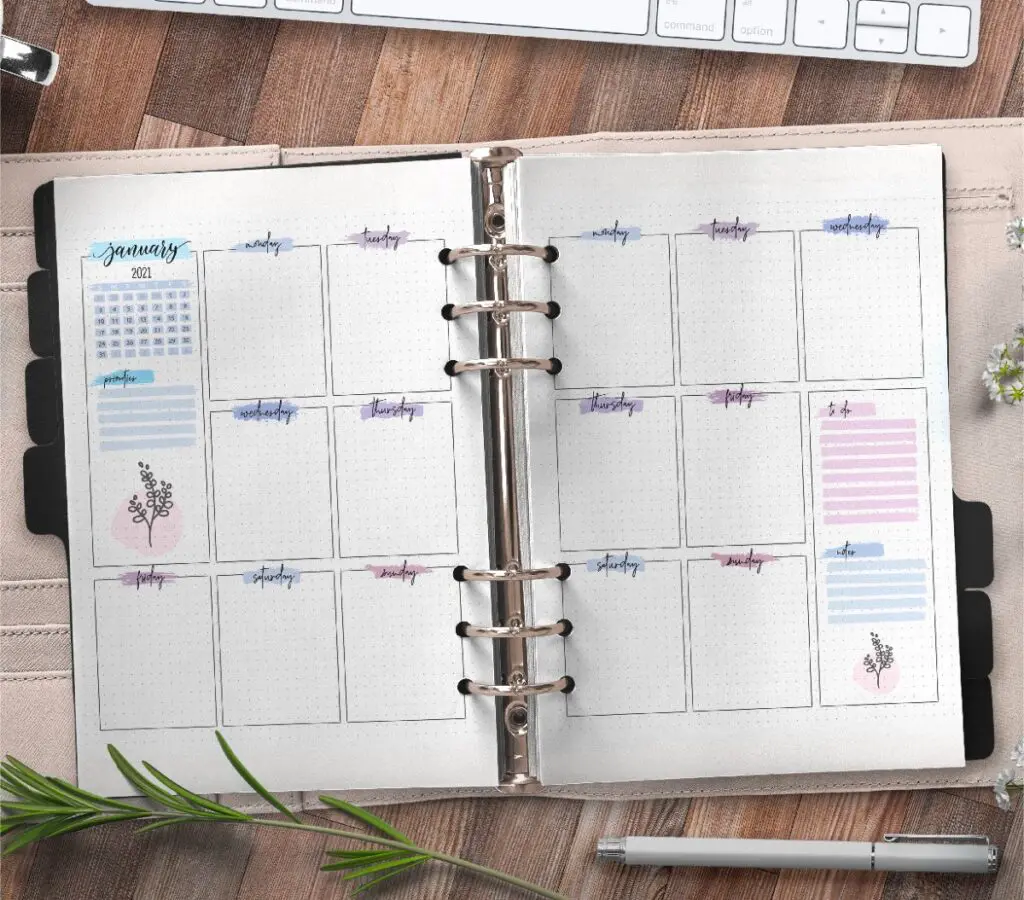
We understand that many people want to start a bullet journal but are put off because they don’t deem themselves artistic enough to create one. Look, guys, the artistic side of things will come with practice. In the meantime, use these free printable bullet journal inserts to start you off. These free inserts will work at each stage of creating your bullet journal as listed below. So take a peek, get excited, read this article then go back and download some! They are all free!
How do I start a Bullet Journal?
Remember to read all of this post before you start. It’s important that you don’t read a section and then go ahead and do your journal because you need to plan and lay things out to suit you. Look, it’s not about getting it perfect from the start, it’s about getting started but there is a basic structure to follow to get the most out of your journal. Don’t worry, I’ve made sure it isn’t complex.
Indexing
It is important to create an Index at the front of your journal so you can keep track of where all of your information is stored. Be sure to number your pages and write the page number and page title in your index. This will fill up the more you use your journal.
A great tip here is to plan in advance how much space you want to dedicate to each month. Think about things that happen every month, key events like Halloween or Christmas, and if you need to factor things in for that. We will talk more later about other pages you can include. Again, this is why I recommend you read the article first before designing your bullet journal.
Key and Symbols
The bullet journal is all about rapid logging. The same information but with less content. The main parts of bullet journaling are tasks, notes, and events and these each have a different symbol – a dot for a task, a circle for an event, and a dash for a note. There will also be different symbols for other aspects of your bullet journal but we will come back to that later. To remember your symbols you will have a key at the very start of your bullet journal.
The whole point of logging with a bullet journal is to keep things short and straight to the point so you can see things at a glance and get your thoughts out of your head and into your journal.
There is no rule to how you lay your notes, tasks, or events out. You don’t need to keep all your tasks together or all of your notes together. You should write them down in the easiest way for you, so if you write a note, a task, and then an event on one page, that’s ok, just use the right symbol so you know what’s what.
Let’s take a quick look at other symbols you might use in your journal. There are some things you will want to symbolize for different reasons. If something is a priority you might use an asterisk or an exclamation mark. if you have an idea you might doodle a light bulb or an arrow. It all depends on what you like.
Be sure to put your key in the front of your journal as a reminder for your symbols. As you are new to bullet journaling, it might take a little time to remember what all your symbols mean. You can also add to the key throughout the year as your journaling progresses.
Future log
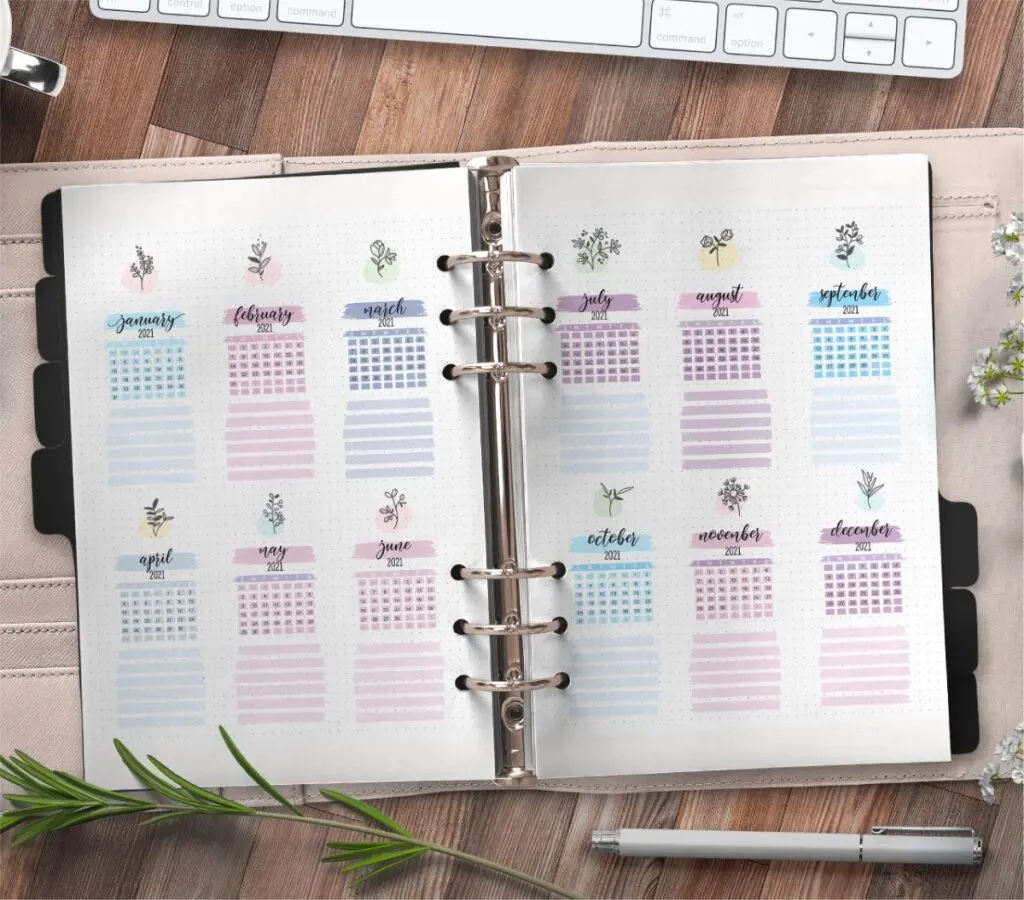
The future log is where you note important dates and events for the year ahead. Think of this as a year in view, pages where you see your year at a glance.
For this, you will most likely separate each page into sections covering your year. The example above is a great idea for a future log and I personally like this layout because it gives me enough space to plan each month and still see it all together. If you like this layout, you can download it for free here.
It’s completely up to you how to design your bullet journal but for each section of the spread, I like to have a mini monthly calendar with space at the side to write important events, tasks, or notes. Things that are certain to happen or have been planned such as a vacation, graduation, or birth.
Collections
A collection is simply a topic that you dedicate space to in your bullet journal. A collection doesn’t have to be more than one thing, it can be a single thing. I always found using the term ‘collection’ confusing, so let’s refer to them as topics instead.
So as we begin to think about what our bullet journal means to us and what we want to achieve with it, we will start to think of what we want to include in it. What kind of things or topics is important to you? What are your goals?
Let’s say you want to start reading more. One of your topics (collections) might be ‘books I want to read’ and so you will dedicate a page to this. This will simply be a page with the title and a list of books and their authors. Simple right?
Think of your collections of things you want to track throughout the year or month. Think of them as topics separate from your typical logging or simply a place for you to get creative. We’ll look more at collections soon. Let’s look at logging now to see the difference.
Monthly log
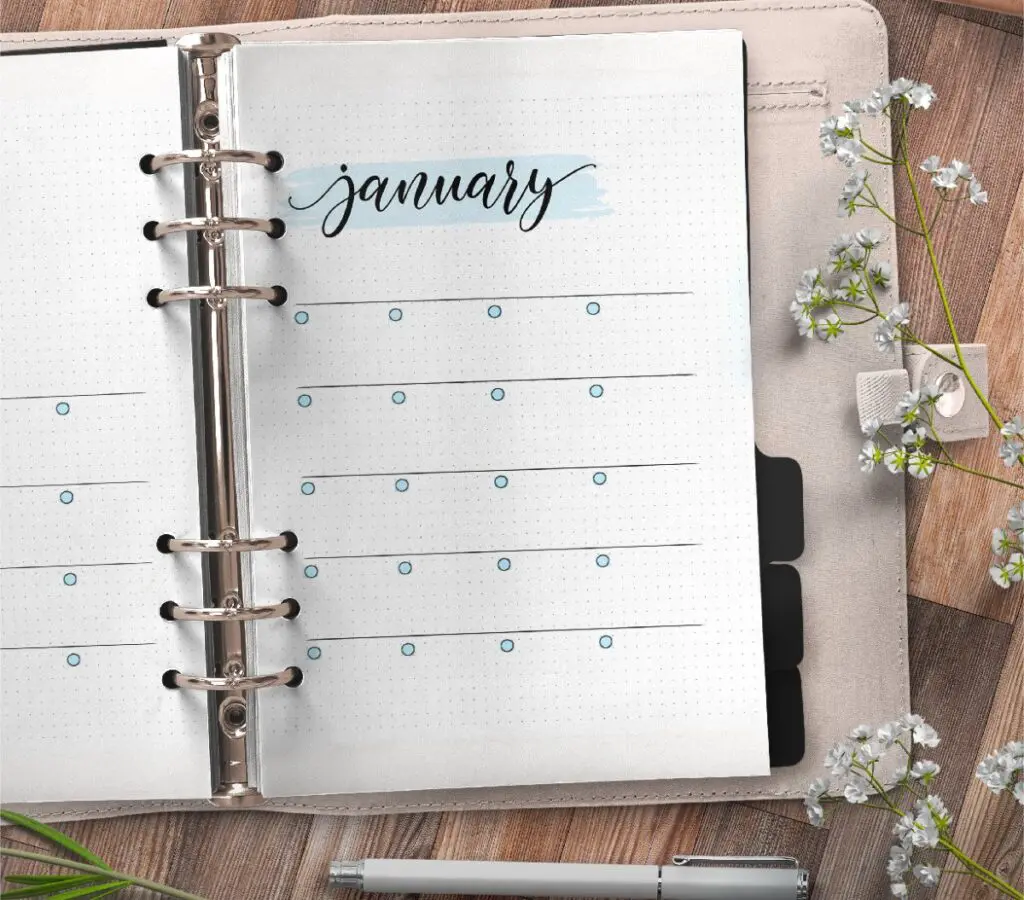
The monthly log represents the start of the month that you are beginning with. Many people like to start a bullet journal at the start of the year in January but people discover bullet journaling at different times. If you decide to start bullet journaling throughout the year then you can simply start where you are.
The monthly log is letting you see important dates, tasks, and events at a glance. It can be a calendar or it can be in a list format. To transform a calendar into a list, start by writing the month at the top of the page and write the date down on the left-hand side. Simply number this 1, 2, 3, 4… or 1st, 2nd, 3rd, 4th, whatever suits you and easily shows you the date. The monthly log is an introduction to the month ahead.
A monthly log is a standard in any bullet journal but some people like to add more to spruce it up a bit. Consider devoting a page before your monthly log as a cover page for the month. If you do this every month it will easily differentiate the content per month. For example, before your January monthly log, design a page with the title ‘January’ and add anything else creative to this page like doodles, a quote, or something that personally represents January to you.
People also tend to choose a theme for every month. January might be flowers, February might be celestial, March might be animals, you get the gist. Check out our stunning January cover page post here for inspiration.
The weekly spread
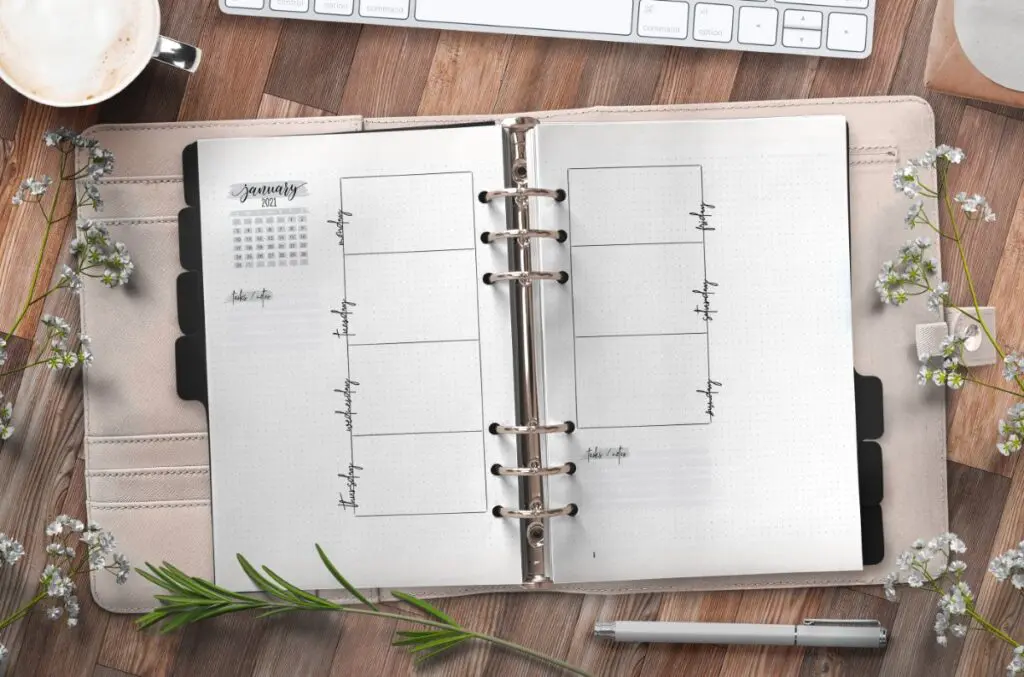
So we’ve looked at creating the monthly log, now let’s look at the weekly spread. You don’t have to put the weekly spread in right after the monthly log. Design this bullet journal to suit you, add a page with a quote beforehand or something creative. Right, back to the weekly spread.
I’m calling this a weekly spread because I love the way it looks when the week is planned over two pages but if you can’t get two pages next to each other then don’t worry about it!
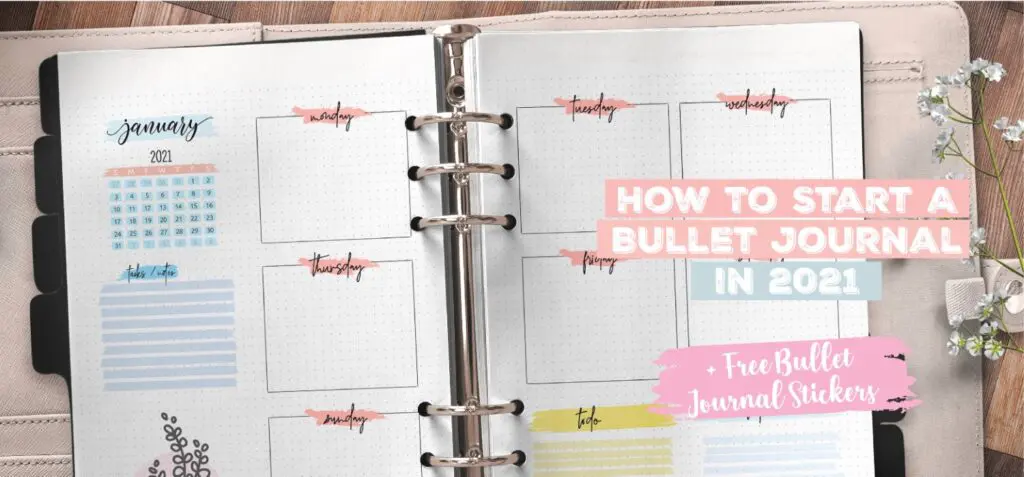
The weekly spread is your way of seeing the weekly plan quickly. Many people use these pages to create spaces for the seven days of the week, along with different trackers you might be keen on logging throughout the week on a more condensed scale. These trackers could be sleep, water intake, and mood. This is useful for seeing how your habits varied throughout the week on a chart rather than flicking through each individual page. You can also add a small to-do list for the main important tasks or events for the week. It’s also fun to go back to the weekly spread after each day to update your charts.
Remember you will need weekly planning for each week, positioned at the start of the week.
Daily Pages
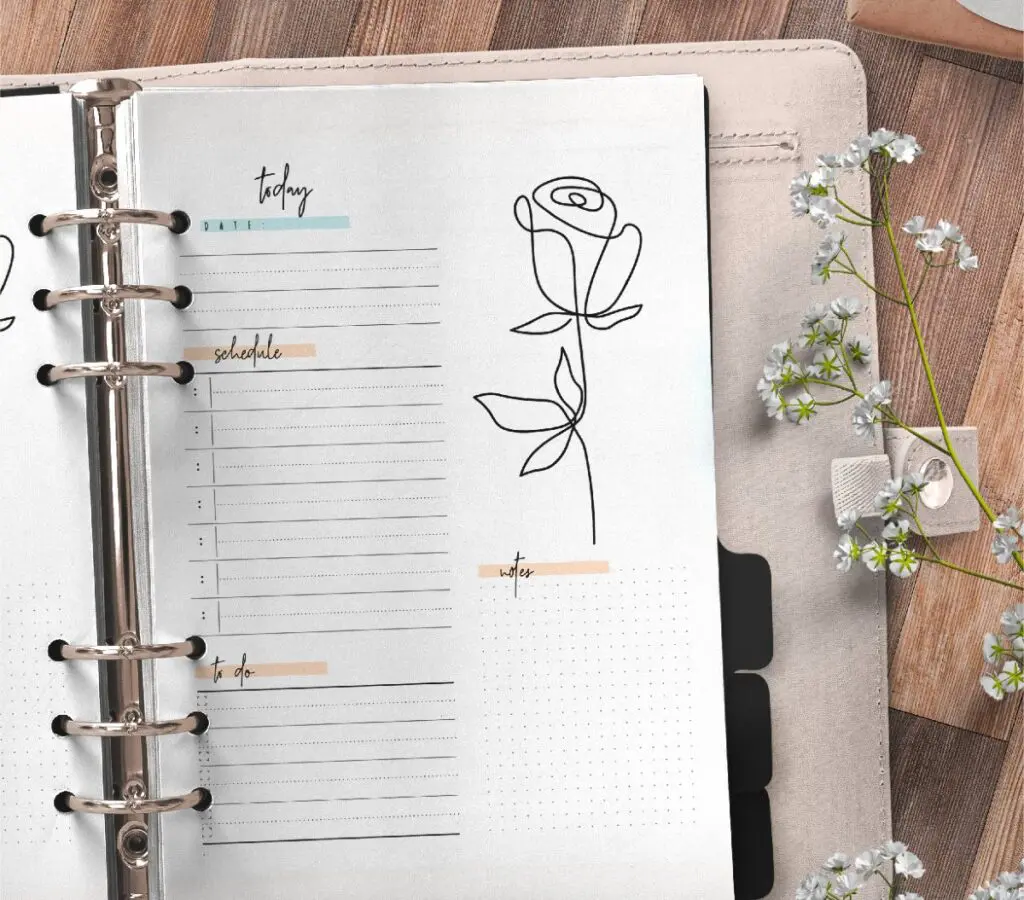
The daily pages are the pages you use daily to log the events and other things of the day. You don’t plan a daily page in advance, but you might set it up the next day the night before after you have finished your daily logging. This allows you to have as much space as you need for the day.
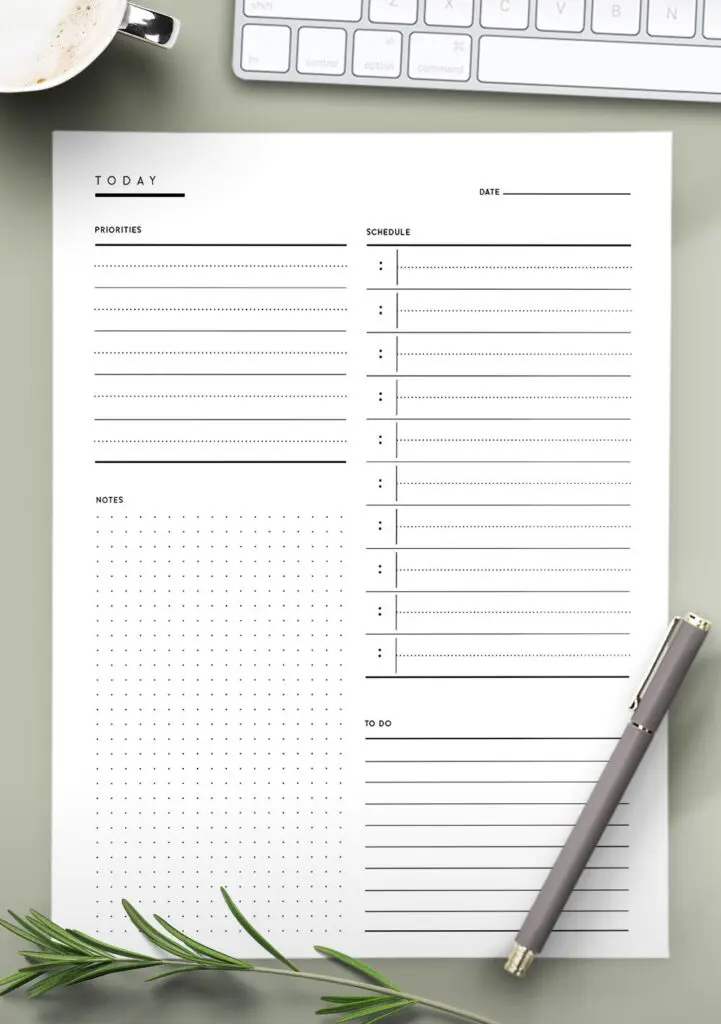
Your daily pages allow you to get everything important out of your head and into your journal. You can log tasks, notes, feelings, doodles, things you have seen that inspired you, and pictures.
A bullet journal isn’t the same as a diary. The idea here is to get things out of your mind but not to elaborate too much. Short and to the point is what it’s all about.
Let’s quickly recap the structure of the monthly, weekly, and daily pages before we go forward.
Let’s say you start in January. You might have:
- January cover page
- Monthly log for January
- Weekly spread for Jan 1st – Jan 2nd
- A collection – a habit tracker, period tracker, things you want to achieve in January
- A daily page for Jan 1st
- A daily page for Jan 2nd
- A collection – a creative page, maybe something that inspires you or a quote
- Weekly spread for Jan 3rd – Jan 9th.
Hopefully, this makes sense and helps you understand the structure of your bullet journal. The collection pages can go anywhere, just make sure the monthly, weekly, and daily pages are all structured in an order that makes sense.
Moving on.
Remember the symbols we spoke about? You can have symbols to signify anything so if you are having a hard day you could write ‘argument with Gwen’ with an unhappy face or another symbol to represent something negative. On the other hand, this is a little TMI but if you have an intimate night with your partner you could simply add a love heart on the page. I used to also write the letter p with a circle around it to signify a period day.
Collection / topic ideas
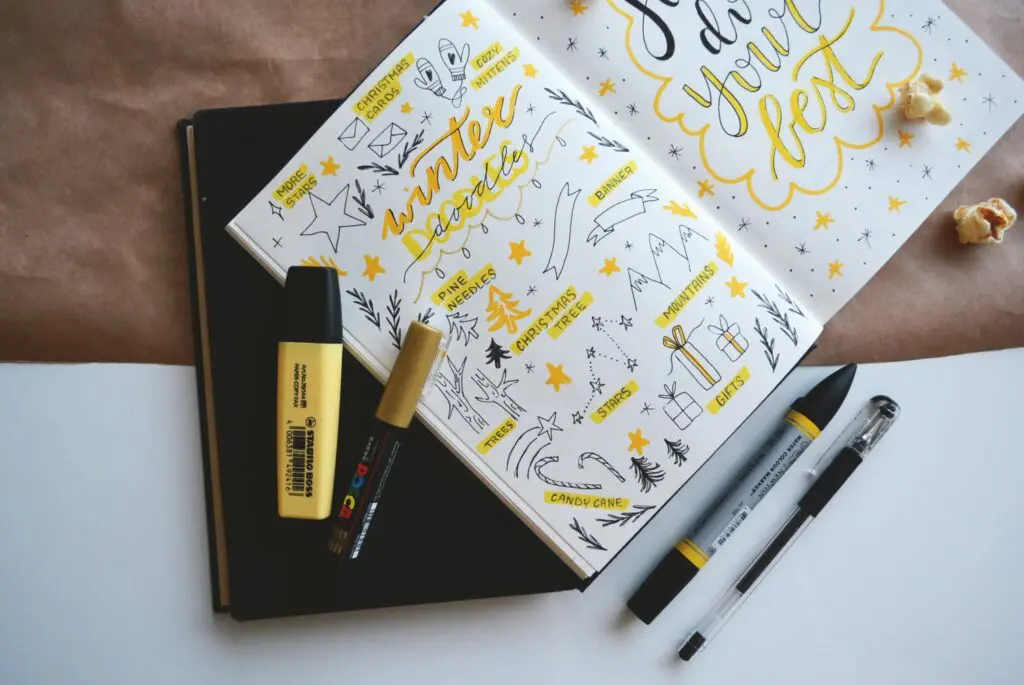
So let’s stick with the period symbol. Another way of tracking your period instead of writing the letter P for five days is to create a separate chart. You know you get your period once a month so when you are thinking about the topics you need to leave space for, why not leave a page or half a page a month dedicated to tracking this?
One of my favorite collection pages to create is a brain dump. Dedicate a double-page spread per month just to get everything off your chest…or brain. This spread can have anything on it. It is a personal place for you to clear your head of confused thoughts, unimportant niggles, and other things.
Think of the collection pages as a place for you to get really creative. You can dedicate a page to places I want to visit and draw a landmark of these places. Don’t just bullet-list these places, this is where you can get artsy-fartsy!
Migration
When it comes to the end of the month, it’s time to reflect on your entries for that month and see what wasn’t completed and is left ‘floating’. This is where you ‘migrate’ unfinished tasks to the next month. People tend to change the symbol of a task which is a dot to a >. This shows that you have moved this task. Then you fit the task into the next month’s section. Changing the symbol makes it easier for when you look back. If you simply score it out then it gives the impression that you completed it.
I know it all seems complicated, but hopefully, now you’ve read this post, you are a little bit more at ease. When I first started bullet journaling I was pretty overwhelmed by it all but I just took my time with it, looked at examples, and figured it out.
I followed the structure as we’ve covered in the steps – Future log, index, key, monthly log, weekly planning, and daily pages but the rest was up to me. And that’s what it is all about, making it work for you in your own way!

How to set up a bullet journal for every month
Now you’ve learned how to set up your bullet journal for its first use. No matter what month you start you should follow the structure we’ve discussed making sure you have the index, key, and future log at the start of your journal.
Let’s say you set up your journal ready for January 1st and now it’s coming into the final week of January. To get ready for the next month (February) you need to recreate what you did for January minus the index, key, and future log (you only need these things once in your journal).
The great thing about a bullet journal is you only have to follow the basic structure to keep it organized and useful, but you can change things month after month.
The February section of your bullet journal doesn’t have to be an exact copy of your January section but it will have to follow some of the same structure. For each month in your journal, you will always need to have the monthly log, weekly planning, and daily pages because this is the structure of a bullet journal and you need to put your notes, tasks, and thoughts somewhere right? But other than that, be sure to fill it with any creative thoughts and other inspirations you might have.
Some people like a straightforward, no-frills bullet journal because it works for them, but others like something a bit more creative that gives them joy when they use it and look back on it.

There we have it. If you’re still with me I applaud you and thank you. Creating a bullet journal is easy if you have the right information, and I hope I’ve made this process simple for you.
Bullet journaling is such a fun, liberating, and relaxing thing to do and it really can make things much simpler for you and much more organized.
You might think it’s a bit of work to take the time out to prep your journal and fill it in but that’s a good thing because in doing this, you are actually having some time to yourself, to sit and think about your life, your goals, and your progress.
Let me know in the comments below if you are new to bullet journaling and if this post has helped you out. Let me know your ideas and inspirations – I’d love to have a chat.


Hello, i’m from Brazil and I found your blog by chance and i just love it! I’m writing on a bullet journal for the first time this year, and i think it will really help me. There are lots of printables and they not only useful but also delicate and cute. And your words about how to do a bullet journal are really clear and useful. I’m already following tio on Pinterest and I’m going to follow you on Instagram too. And when i use your printables i will tag you, okay? Thank you very much for this great blog!
Hey Scheila. Wow, such kind words! It makes me so happy to know that you love our blog and free printables and I’m so glad you’re a part of our community! 🥰